
Fun Candle Project
- mommaoskk
- Sep 4, 2025
- 2 min read
Updated: Sep 9, 2025
This type of crafting goes way back. If any of you remember Elmer's glue from your elementary days, or Mod Podge? This is one of "those" projects.

Things needed for this project:
Candle, can be wax or one of the new battery powdered plastic ones
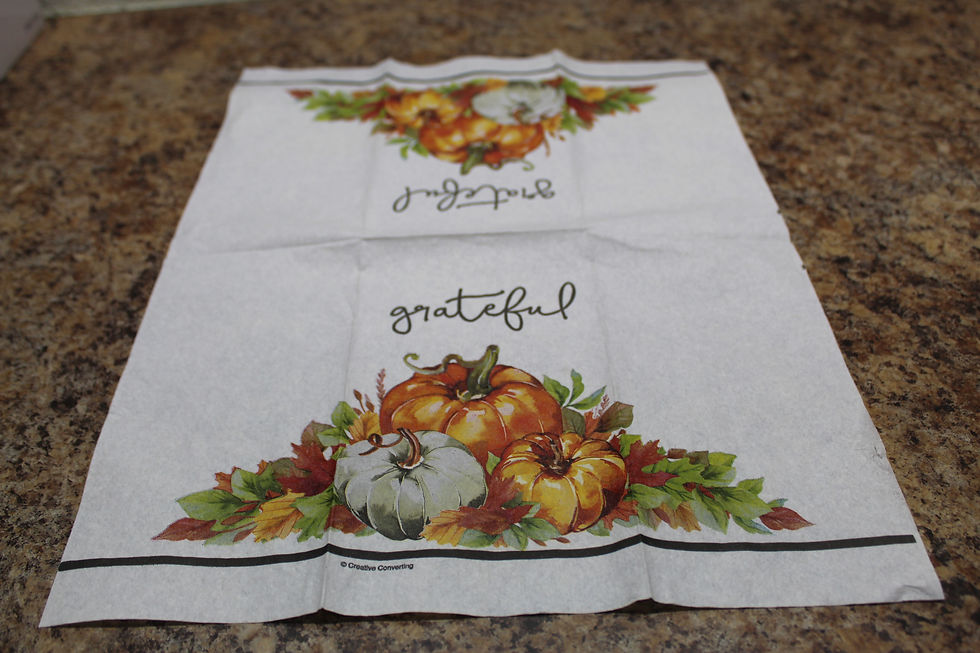
Decorative napkin
Elmer's glue or Mod Podge
Glitter (optional)
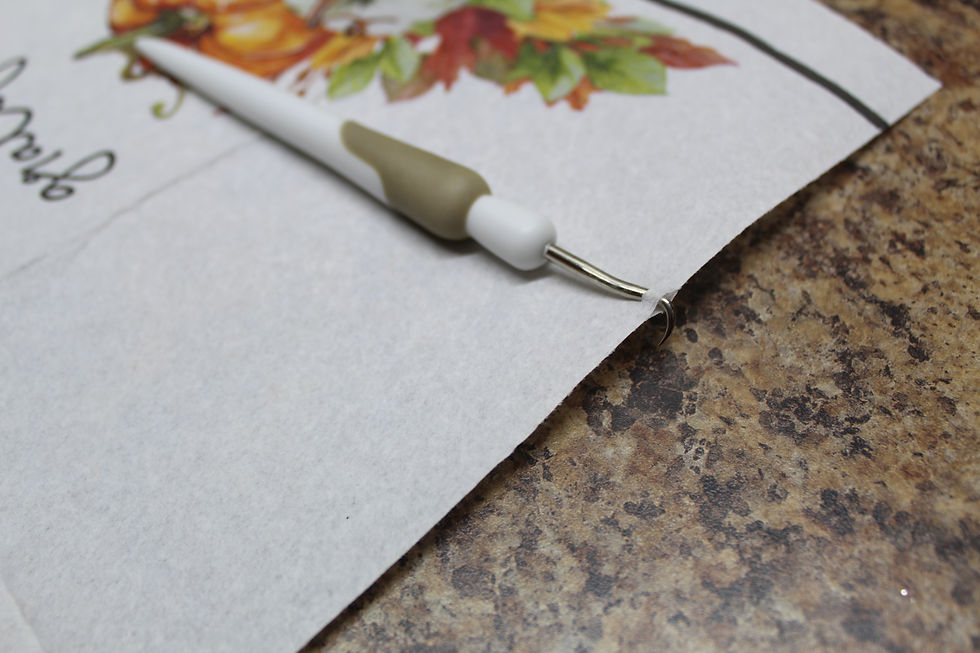
pick or something with a "pokey" end, a toothpick can work
blow dryer
sponge applicator
scissors
tray or plate for the glue


With either wax or plastic candle, wipe it clean so that it is free of dust.
Take your decorative napkin, unfold it and separate the front from the back.
Insert the pick between the layers, and gently separate the front from the back.


Once you have the layers apart, take your scissors and cut around the design or picture. Remember to lay your image against the candle so you get an idea of how big or small you need to cut it.
Once you have your image cut out, apply a narrow, thin layer of glue or Mod Podge in a small area on the candle.
Center your image over your glue stripe and gently lay the napkin on the glue. Using small amounts of glue, work your way from the center out to the edge of your image, first one side, then the other. Be careful and remember that your napkin will tear easily when wet, and it will stick to your fingers.
Once you get your image on the candle, brush a thin layer of glue over the top of the image.
Add glitter if you want at this point.
You can either use the hair dryer or just let the glue air dry. If you use the hair dryer on a wax candle, be sure that you don't get it too warm and melt your candle.
That's it, simple, easy and quick.


Comments